New kitchen floor

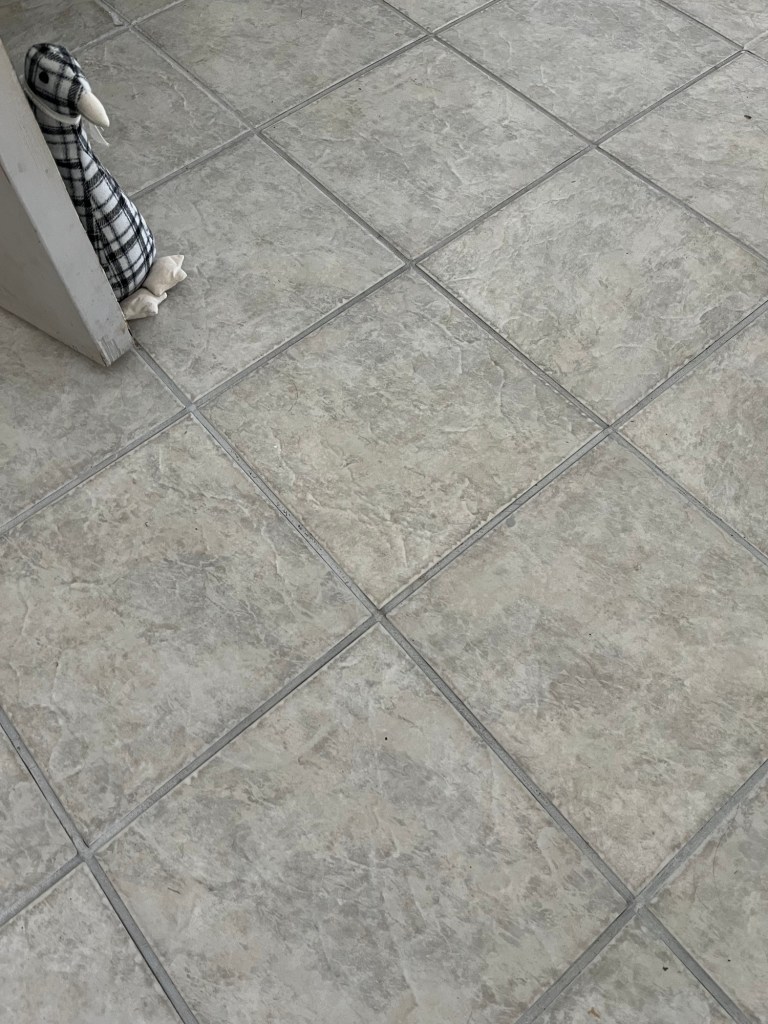
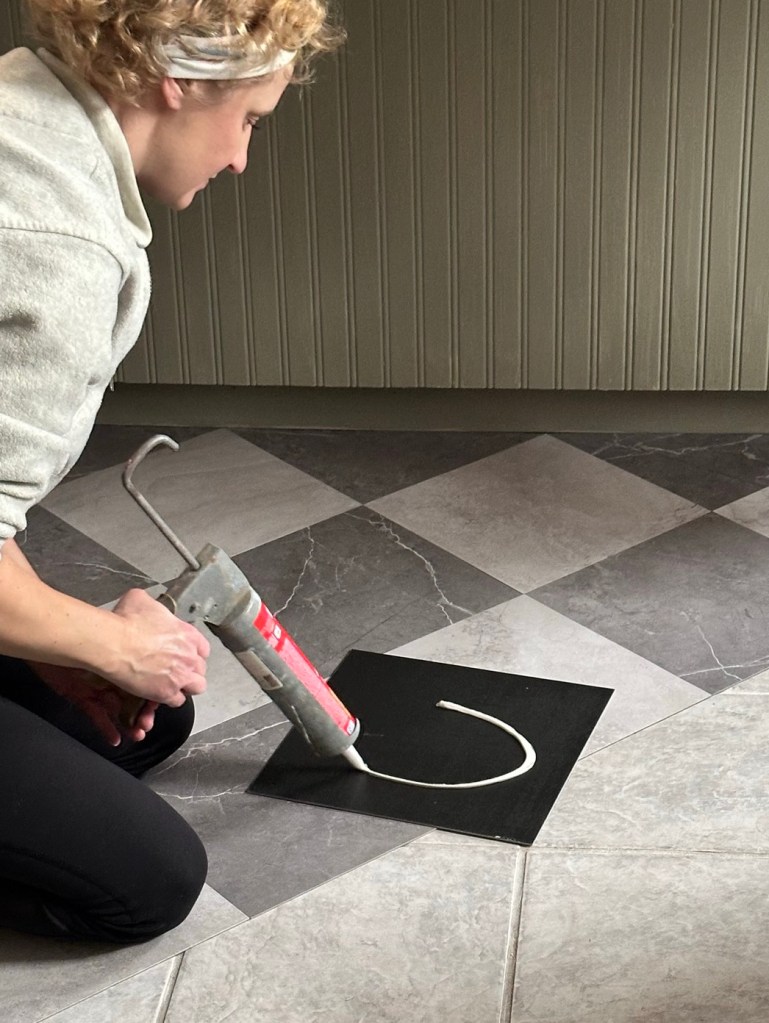
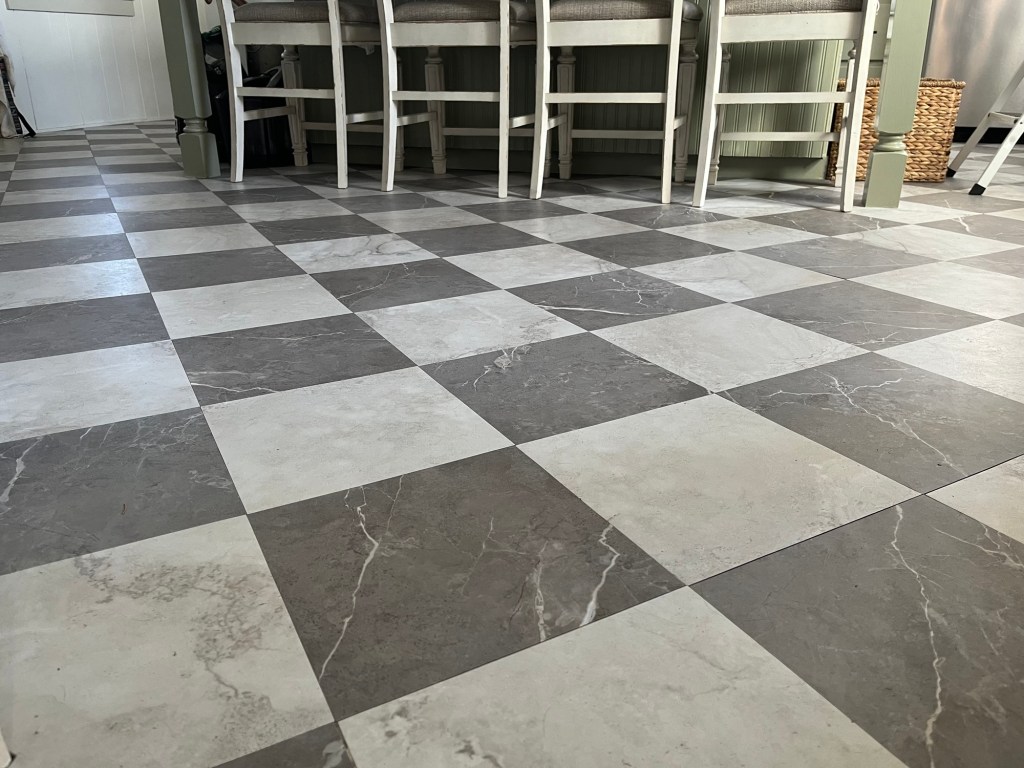
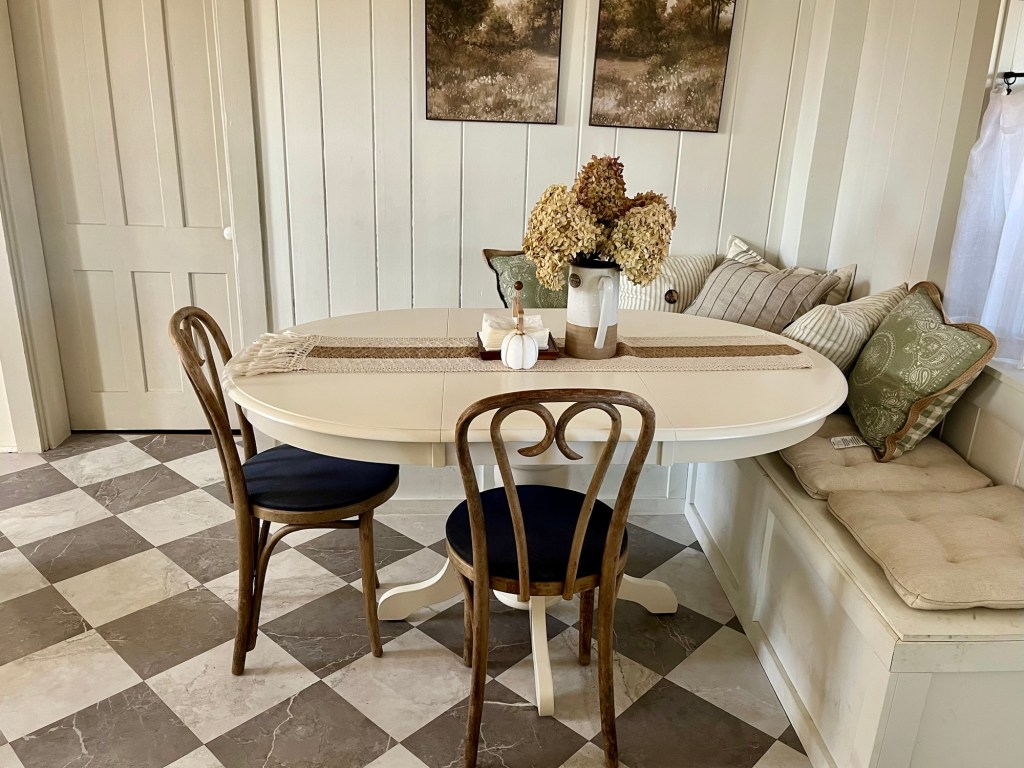
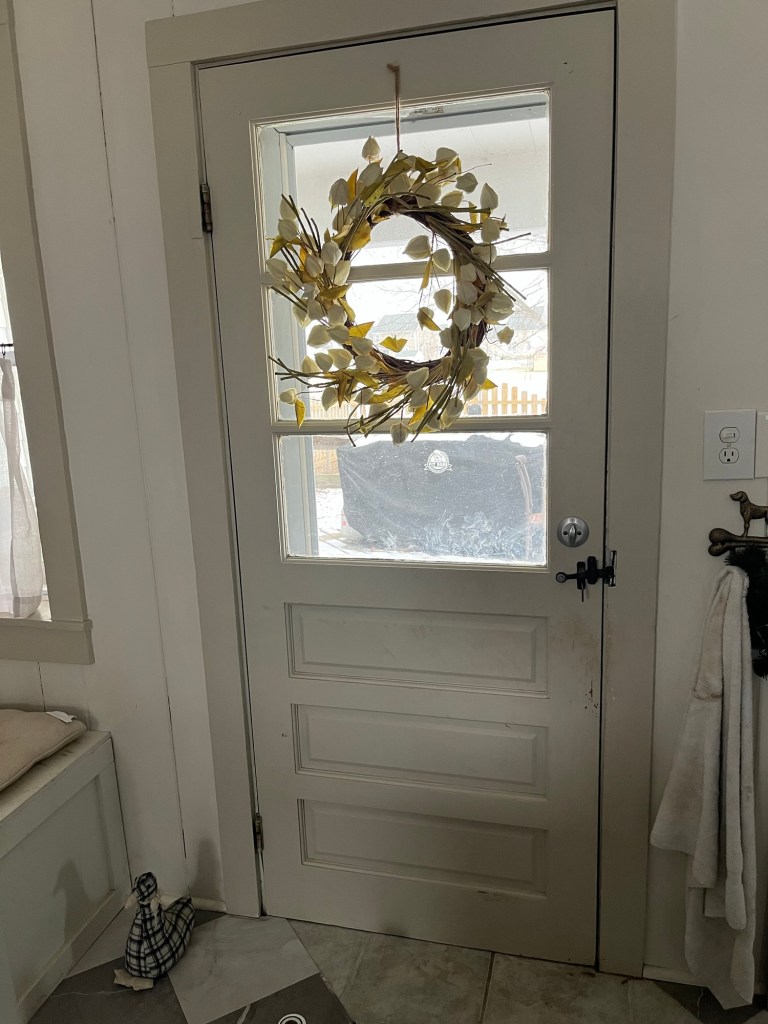
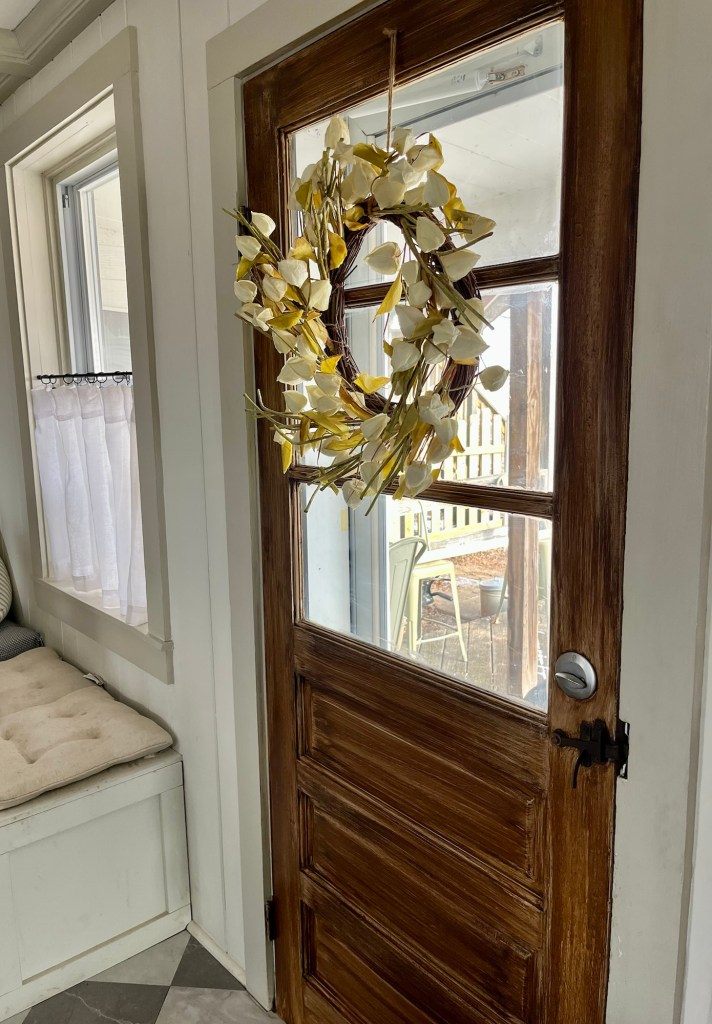
It was definitely time to update this floor. I tried painting the grout white, scrubbing everything down, laying area rugs to hide it. In the end I decided, I just don’t like it. So I decided (or the budget decided) to buy peel and stick tile and lay it in a diamond pattern. And I am so thrilled with how it turned out!

The old floor with the grout painted white.
I used liquid nails on each tile to make sure they’re not going anywhere
And the final result 👏🏻

Old door becomes new door

I decided to give the kitchen a warmer feel so I gave the kitchen door a faux wood finish. I figured I should do this before I finish the tile in front of the door because this process can get messy. I used the antiquing wax I use for chalk paint to achieve this. I was a little hesitant because I’ve never used it over latex paint but it dried exactly the way I wanted it to.

The door before

The finished product

Pot storage

I thought I knew what I wanted for my pot and pan storage, and then I didn’t. I purchased a pot rack and thought this was definitely what I wanted in my kitchen space. Until it went up and I just felt like it was too busy. I wanted something more neat and tidy.

I saw a Pinterest photo with a bookshelf in the kitchen and loved it! But I don’t have an empty wall so I thought I could incorporate it above the radiator. I found a Sauder library hutch on sale and grabbed it. It was perfect since I only needed the top piece. Eventually we’ll be building a radiator cover to finish the look but I’m loving it so much better already 😍

Fence

When we left our old house we finally removed the very old, very warped chain link fence around the backyard the summer before we sold. For 10 years I kept saying this is the year we take it down. And the year we took it down is the year we sold. So I didn’t have much time to enjoy my achieved goal, but guess what this house had… a very old, very warped chain link fence. 🫠 I vowed I will not wait 10 years again. So the first year the project started!

This is the first thing people see when they drive up to make things worse. 😑

We kept the chain link posts as the anchor for the pickets. I bought dogwood pickets from Home Depot and cut each one by 3” to make a scalloped effect. We enlisted the help of friends for this project and they removed the chain link and attached all the horizontal pieces to the metal posts for us while the rest of us attached the pickets.

My happy face 😁
This is the finished product! Cody likes it too! 😄 All that’s left is to stain it white 🤍

Baskets

This handy tool helps keep the house looking tidy and adds warmth and a homey feel to the room. And best of all, they’re inexpensive!

This basket holds our doggy treats
I keep a massive sea grass basket on the side of the island for all of our bottles and cans
Behind the trash can I use a seagrass basket for our recyclables
A basket in the living room for blankets
And even a basket for the kids backpacks at the front door

I purchased these from Home Goods. They have an amazing selection of baskets of all shapes and sizes!

A little paint makes a world of difference

We bought this home with the understanding that the outside was in a serious need of a paint job. Looking at the outside we wondered if the last time this was done was back in 1878. But knowing what paint can do, I knew it would make all the difference. Here is a before shot as we start to prep the house for this massive undertaking.

For this project we called in recruitments. We fortunately had a friend who is a genius in this field was able to give us a hand.

And this was the end result!

Paint is simply amazing! Never underestimate the power of this tool. It can work wonders! Paint color is Benjamin Moore White Dove and black trim is Benjamin Moore Onyx

Chair Makeover

I love taking something old and dated and putting my own stamp on it. This chair had gorgeous wood design but needed a fresh coat of paint and new upholstery.

Reupholstering a chair like this is so much easier than people think! Just unscrew the bolts underneath the seat and fit the new fabric over the existing. Use a staple gun to keep it snug in place. Reattach the seat and you’re done!